
Flip!
Battle-System
Flip!
Need to quickly turn that token the other way? Want to bind a druid and a bear token together so you can easily swap between them? Playing an isometric game and want some z-axis ordering? Lucky you.
Table of Contents
Getting Started
Out of the box, Flip! is fairly straight forward. The 'Bind' option is available to GMs and Players, and the Z-Indexing is disabled by default.
1. Reverse It
To start, the 'Reverse It' button is for flipping an image horizontally. The same can be done using the 'handles' on a token in OBR, and dragging it to the other side. Flip! just makes it easier (while maintaining the correct size). You can also do this to several tokens at once. Note: Reversing a token only works with Image type tokens. Characters, maps, mounts, etc.. but not Drawings or Fog Lines.

2. Bind It
The 'Bind It' button will bind together two tokens on the same layer, so that they can be swapped between. Once bound, only one token will be visible (until it's Unbound).
You need to select two tokens for this button to be visible, and they should be on the same layer.
The 'bound' token's data is stored on it's partner token. So it will exist as long as the other token does, or until they have been split apart.

3. Flip It
When you click the 'Flip it!' button, the token will swap place with it's bound partner. If you have moved the token around, it should still appear in the position that the older token has.
Note: How attachments behave for either token is dependent on your Flip! settings. Bind/Flip has a variety of uses other than shifting a character into a new form. It's the ability to swap something between two states.
Say you want to have some helpful notes on the table, but don't want it to take up space all the time? Bind a small button to a larger PDF page. Whenever Flip that button, the PDF will show. Flip it back to go into it's button form.
Item Binding
1. Disable Player Binding
In the action window of the extension is a toggle for 'Disable Player Bind'. By enabling this, it will remove the button for Binding and Unbinding for players, so they cannot mess up the scene too much. (If your players are actually responsible adults, feel free to ignore this option. Pat them on the head for me.)
2. Attachments with Parent
Also in the action window, is the option to keep Attachments with the Parent token. An example of this is displayed below.
What this means is that if you have an attachment on a token (Like a status effect, an Aura image or something else..) it'll stay with that token when you flip states. If you have this option disabled, the attachment will instead be passed to whichever token is visible at the time.

Z-Index Layer Ordering
In the action window is access to the Z-Index ordering settings.
This is as simple as setting which layers you want the auto-ordering to be active on. Once on, the tokens will be re-arranged for that layer whenever a change is made.
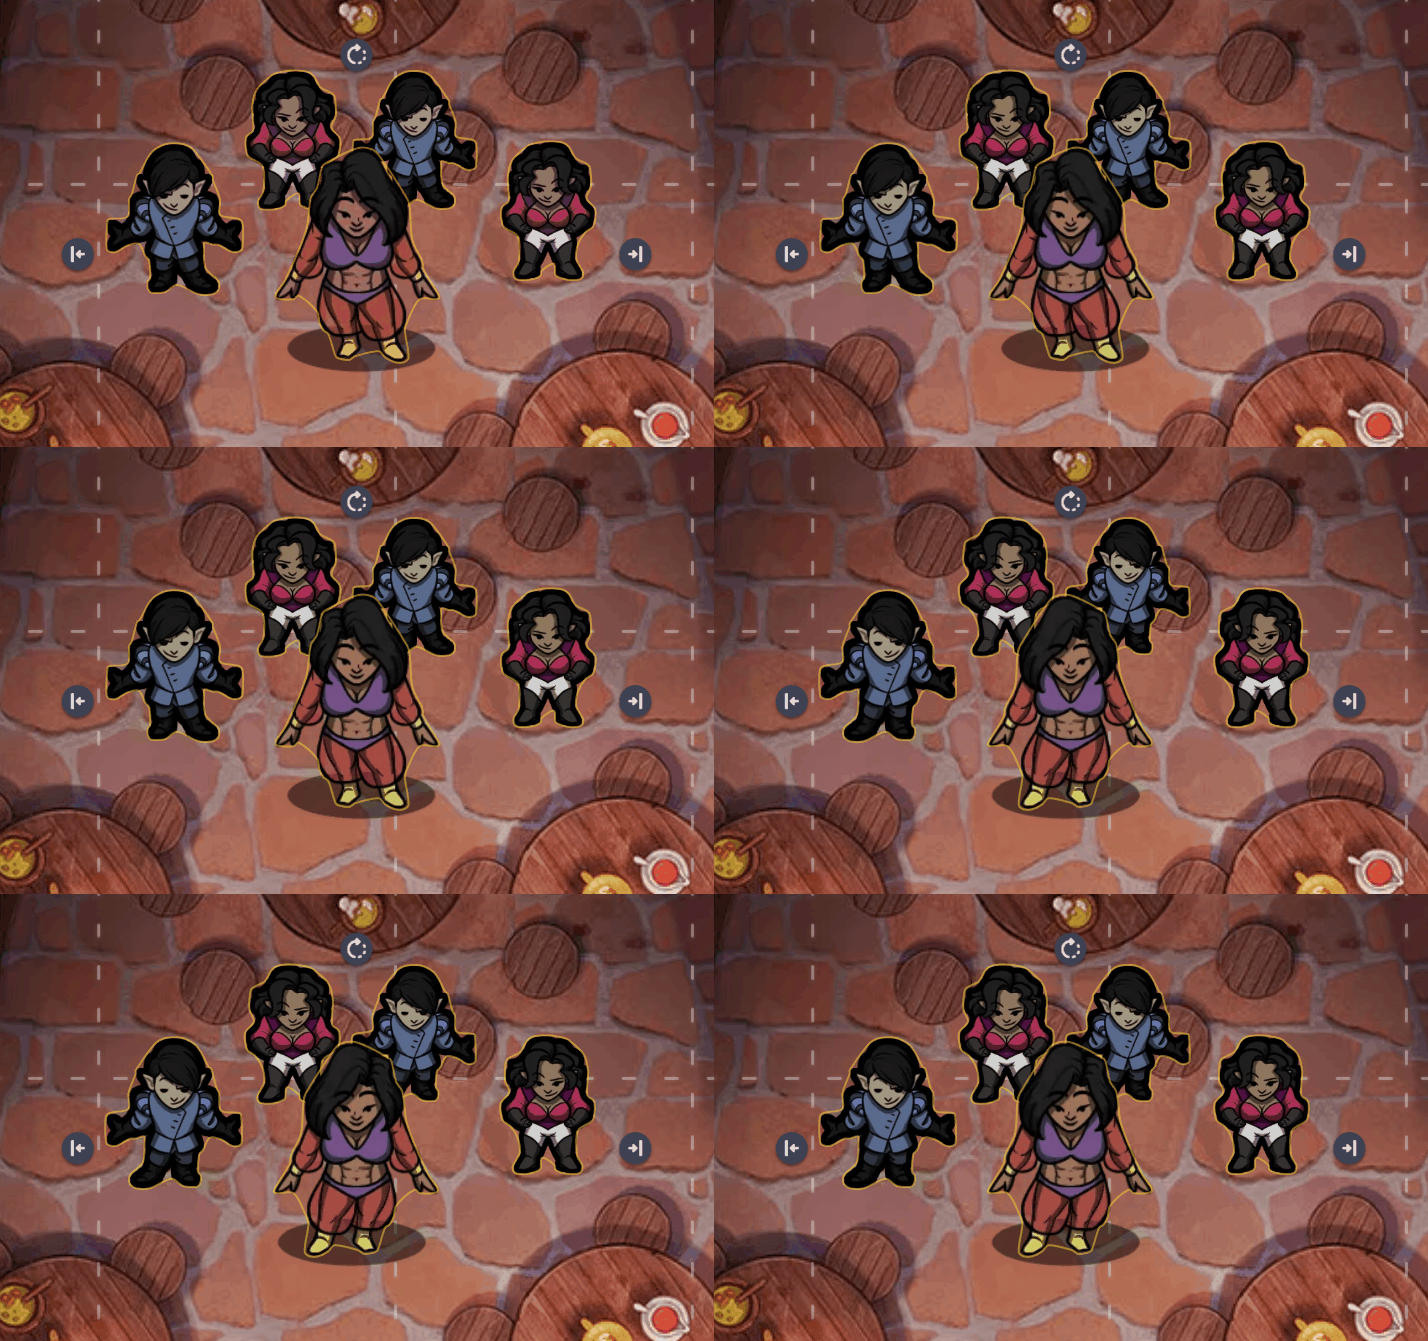
 Here is an example without Z-Indexing being active on the Character layer. Notice how things just are stacked based on whatever is moved last.
 And here is an example with Z-Indexing being active on the Character layer. Notice how things that are higher up are moved to the back, while things further down are brought to the front. (This is useful for isometric games.)

Support
If you have questions, please join the Owlbear Rodeo Discord.
Or you can reach out to me at [email protected].
You can also support these projects at the Battle-System Patreon.
