Dashboard Maker
Robert Tate
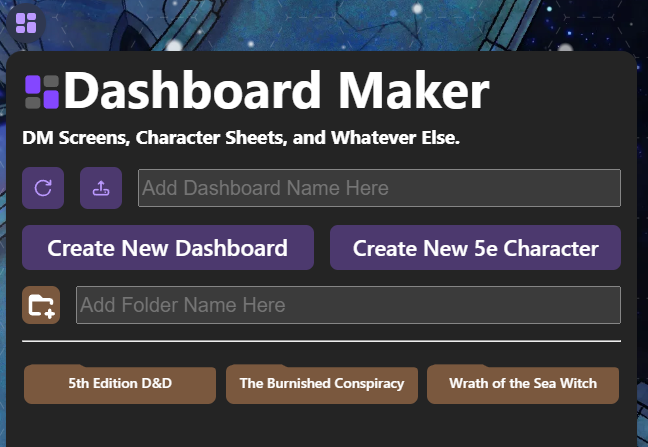
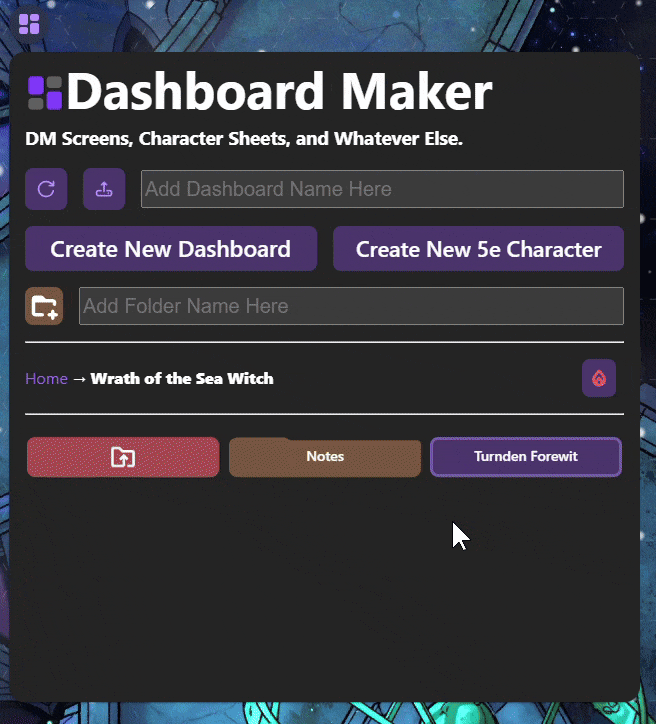
Dashboard Maker
An Owlbear Rodeo extension for keeping game content you need on hand.
Whether it's useful notes & reminders, initiative trackers, character sheets, or something else, Dashboard Maker is a way to keep it in Owlbear Rodeo.
You get fun boxes to drag around, markdown style text shortcuts, a decked out editing bar, and a magic dice syntax that lets you roll 3d dice in the app. All the things a TTRPG note-taking enthusiast could want.
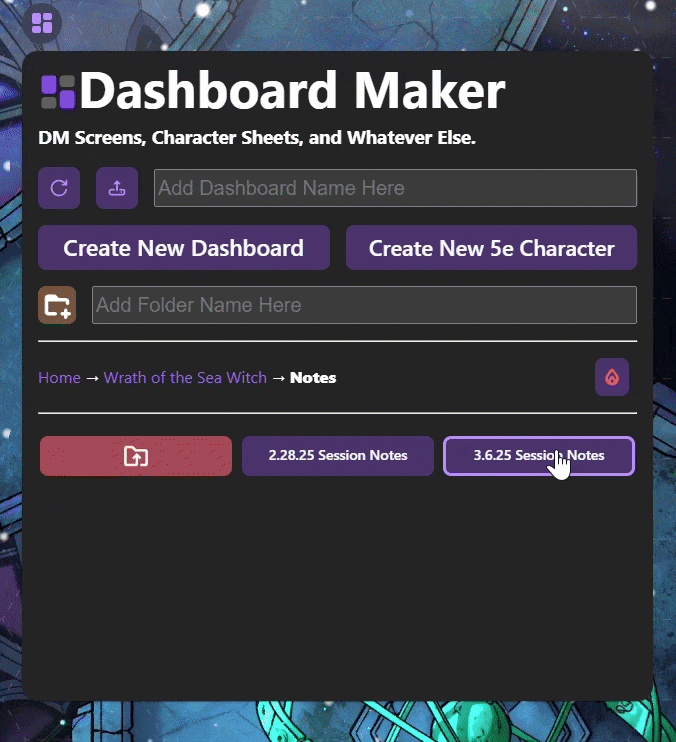
Additionally, a folder system is in place to help you organize your dashboards however you see fit.
All content is saved in your browser. Dashboards and folders are downloadable and uploadable, and individual dashboards are shareable between the GM and their players.
The more you put in Dashboard Maker, the less you have to leave Owlbear Rodeo. Why is this good? Because context switching during a game sucks.
Check it out as a standalone app here.
(But really, you should be using this in Owlbear Rodeo)
Dashboard Types
Blank Dashboards
Click Create A New Dashboard on the home screen to create a new empty dashboard.
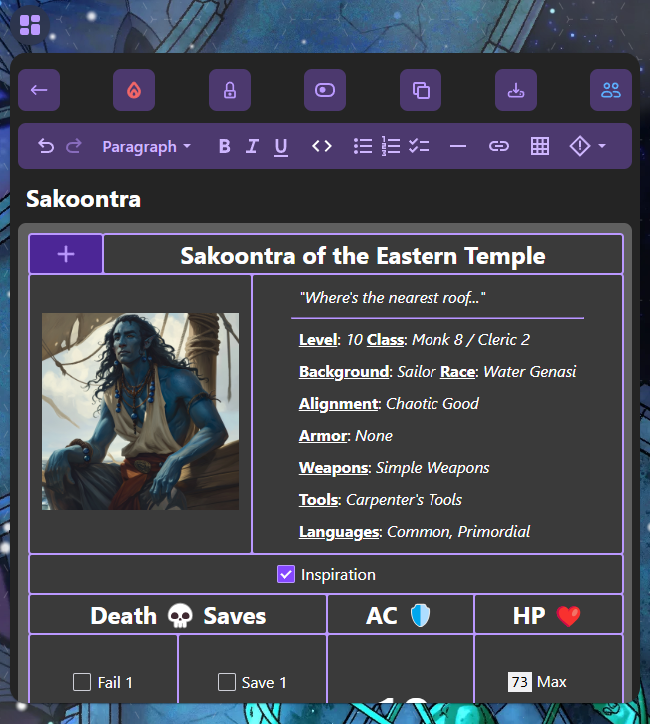
5e Character Template Dashboards
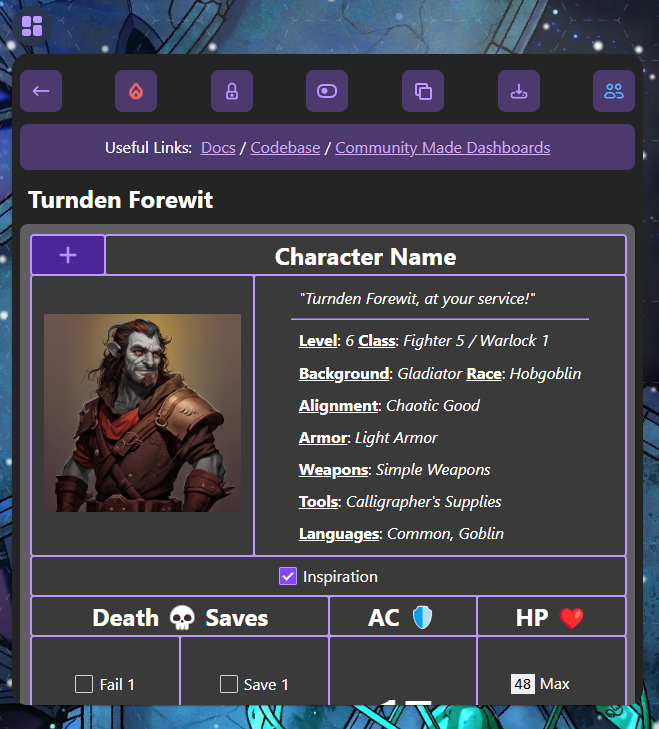
Click Create A New 5e Character on the home page to create a new dashboard that uses a 5e character template.
Premades

Dashboard Maker comes with some "Premades". These are dashboards that I made to offer some useful DM Screen info, right now specifically for D&D 5th Edition.
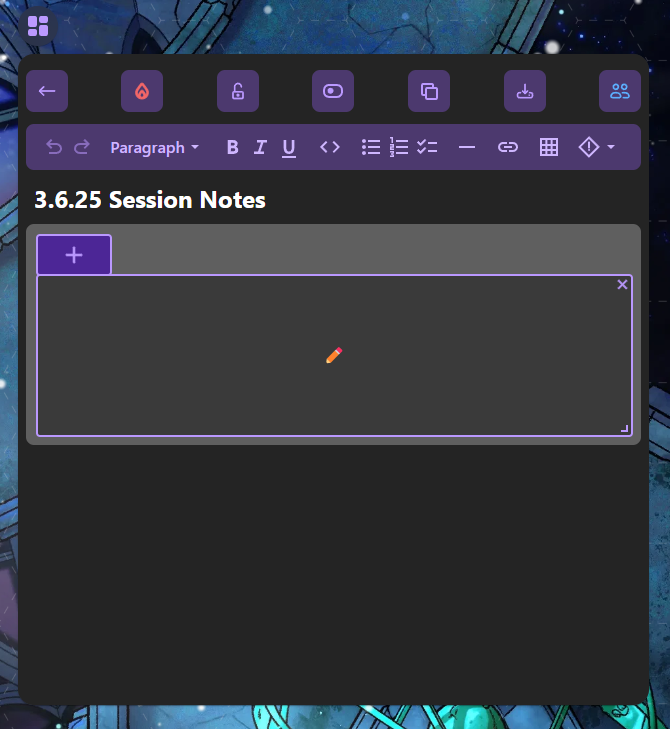
Dashboard Features
![]() You can delete dashboards as needed.
You can delete dashboards as needed.
![]() You can lock/unlock the state of a dashboard, affecting the editable state of the items within it.
You can lock/unlock the state of a dashboard, affecting the editable state of the items within it.
![]() You can toggle the base number of columns in a dashboard, between either 8 (default) or 12 columns. Note: this only affects the dashboard layout on desktop. Mobile layout is still set to a base of 4 columns.
You can toggle the base number of columns in a dashboard, between either 8 (default) or 12 columns. Note: this only affects the dashboard layout on desktop. Mobile layout is still set to a base of 4 columns.
![]() You can clone/duplicate any dashboard as needed. This is the best way to rename them (duplicate it, give it a new name, and then delete the old one)
You can clone/duplicate any dashboard as needed. This is the best way to rename them (duplicate it, give it a new name, and then delete the old one)
![]() You can download/upload dashboards as
You can download/upload dashboards as json files, so you can store them offline, share them between browsers, etc!
![]() If you are the GM for a room, you will see an additional button to share your dashboard with all other players in the room. Be careful with this feature! Sharing your dashboard will overwrite any dashboards your players have with the same dashboard name.
If you are the GM for a room, you will see an additional button to share your dashboard with all other players in the room. Be careful with this feature! Sharing your dashboard will overwrite any dashboards your players have with the same dashboard name.
Dice Notation
Dashboard Maker supports a dice notation syntax. Simply type things like "1d6+3" in the editor, hit space, and watch as the text gets captured as "dice notation". Then, you just click on what you typed, and it will roll those dice.
For more information on the full list of dice notation syntax that Dashboard Maker will recognize & accept, take a look at the ⭐ Dice Demo ⭐ premade dashboard, which can be found in Home → Premades → 5th Edition D&D dashboard folder.
![]() For GM's, this button will appear when your roll result is displayed. Clicking it will share your roll result with the room.
For GM's, this button will appear when your roll result is displayed. Clicking it will share your roll result with the room.
For Players, your roll is shared automatically.
Dashboard Searching
Dashboard Maker comes with an option to tie a token to a dashboard. It's pretty simple: if you have a dashboard named "Boblin" and you also have a token that you've added and named "Boblin", you can use the Dashboard Search option in the token's menu to automatically bring up that dashboard with the matching name.
Please note: The token name and the dasboard name must be an exact match for this feature to work.
Images
Dashboard Maker supports adding images inside a dashboard content box.
Prerequisites:
- The image must already be hosted somewhere, thus having a valid image url.
How To:
- Right click the image you want to add (this works in a browser or discord) and select "Copy Image"
- Back in Dashboard Maker, paste that image into a dashboard content box either by right clicking inside the text area and selecting "Paste", or by pressing
ctrl+vonce you've already clicked into the text area (you know you've clicked into the text area if you see the text cursor).
Caveats:
- While it's not impossible - putting images and text into the same context box is a bit clunky. Consider keeping them seperated into different content boxes.
The Toolbar

Dashboard Maker comes with an editing toolbar. This lets you edit and format your content with ease, and also allows you to drop in new content types such as tables, thematic breaks, links, and admonitions. You can even add tooltips for nested content!
Formatting Keyboard Shortcuts
In addition to using the toolbar, Dashboard Maker also supports keyboard shortcuts to format your content while typing.
Headings
Type # and then hit space to create an h1 in the body of your dashboard item text. This pattern applies to h2's (##), h3's (###), and so on.
Text Styling
You can apply bold, italics, and underline to text by using the keyboard shortcuts: ctrl+b for bold, ctrl+i for italics, and ctrl+u for underline.
Make sure to use command instead of ctrl on a mac. 😊
Block Quotes
Type > and then hit space to create a block quote.
Checkboxes
Type [] and then space to create a checkbox. Make sure you type in a label to the right of the checkbox immediately after, or else if you hit return the checkbox will just disappear.
Bulleted Lists
Type - and then hit space to create a bulleted list. you can indent lists however much you need using the tab key.
Numbered Lists
Type 1. and then hit space to create a numbered list starting at 1. You can also indent numbered lists with tab.
Code Formatting
To make your text have that cool code look, type a backtick ( ` ), followed by the text you want formatted this way, followed by another backtick.
Have fun and thank you for trying out this passion project! Also, if you're into coding, feel free to check out the source code on Github.